


The Missing Button That Cost $18,000
It was day 47 of a 60-day shoot. We were filming the climactic scene of a period drama—a ballroom sequence with 200 extras, full orchestra, and our lead actress in a custom-made gown that cost more than my first car.
The scene required 14 takes. On take 12, a button popped off the gown's bodice.
Not a big deal, right? The costume designer—let's call her Maria—had backup buttons. She'd prepared for exactly this scenario.
Except she couldn't find them.
I watched Maria tear through her kit. Three bags. Dozens of pouches. Hundreds of tiny compartments filled with buttons, thread, safety pins, needles, snaps, hooks, and fasteners.
She knew she had the buttons. She'd purchased them six months earlier from a specialty supplier in London. They were one-of-a-kind, hand-carved, irreplaceable.
But in that moment, with 200 extras in full costume, an orchestra on the clock, and the director waiting, she couldn't find them.
We shut down for 45 minutes while Maria searched. Eventually, she found the buttons—in a small zippered pouch inside a larger bag, tucked behind a roll of elastic.
The delay cost production $18,000. Maria kept her job, but she told me later that she'd never felt more humiliated in her 20-year career.
"I had the buttons," she said. "I was prepared. But my organization system failed me when it mattered most."
Why Wardrobe Organization Is Unlike Any Other Department
Here's what most people don't understand about wardrobe work: you're managing thousands of tiny, critical items that all look similar, in high-stress situations where seconds matter.
Sound departments manage cables and microphones. Camera departments manage lenses and accessories. But wardrobe? You're managing hundreds of buttons that differ by millimeters, dozens of thread colors that look identical in low light, and thousands of fasteners that are easy to lose and impossible to replace on short notice.
The wardrobe department faces unique organizational challenges:
Volume of Small Items: You're not organizing ten lenses. You're organizing 500 buttons, 200 safety pins, 100 thread spools, 50 types of fasteners, and countless other tiny items that are easy to lose.
Visual Similarity: A size 8 button looks almost identical to a size 10 button. Navy thread looks like black thread in low light. Snaps and hooks all look the same until you examine them closely.
Time Pressure: When a costume malfunctions on set, you have minutes—sometimes seconds—to fix it. The entire production is waiting on you.
Irreplaceable Items: That specialty button from London? You can't run to the store and buy another one. If you lose it, the costume is compromised.
Constant Movement: Unlike departments that set up and stay in one location, wardrobe moves constantly. You're backstage, on set, in trailers, in holding areas. Your organization system needs to be mobile without becoming chaotic.
I've worked with costume designers who could find any item in their kit in under 10 seconds, even in the chaos of a quick change. And I've worked with designers who spent half their day searching for things they knew they had.
The difference? A fundamental understanding of how to organize small items at scale.
The Problem With Traditional Wardrobe Organization
Most costume designers start their careers using whatever organization system they inherit or improvise:
-
Plastic tackle boxes from the hardware store
-
Clear zippered pouches from the craft store
-
Random bags and containers accumulated over years
-
No consistent labeling system
-
No standardized methodology
These systems work fine when you're doing small productions with limited costume needs. But as your career grows and productions get bigger, these improvised systems break down.
Here's why traditional wardrobe organization fails:
Lack of Standardization: Every bag is organized differently. There's no consistent logic. You have to remember where everything is, and memory fails under pressure.
Poor Visibility: Clear plastic pouches seem like a good idea until you have 50 of them stacked in a bag. You can't see what's in the pouch on the bottom without unpacking everything above it.
No Scalability: The system that worked for a 5-person cast doesn't work for a 50-person cast. You end up with organizational chaos.
Inadequate Labeling: Handwritten labels fade. Tape labels fall off. Sharpie on plastic becomes illegible over time.
Environmental Vulnerability: Plastic containers crack. Zippers break. Materials degrade in heat, cold, and humidity.
I watched Maria—the costume designer from the opening story—completely rebuild her organization system after that $18,000 button incident.
"I realized I'd been using the same organizational approach I learned as an assistant 20 years ago," she told me. "It was never a real system. It was just habits that sometimes worked and sometimes didn't."
The Three-Layer Organization System That Actually Works
The best costume designers I know use a three-layer organization system:
Layer 1: Category SeparationLayer 2: Item-Specific OrganizationLayer 3: Visual Identification
Let me break down each layer.
Layer 1: Category Separation
The first layer is about separating your gear into major categories that make logical sense for wardrobe work:
Fasteners: Buttons, snaps, hooks, eyes, zippers, velcroSewing Supplies: Thread, needles, pins, scissors, seam rippersQuick Fixes: Safety pins, fabric tape, hem tape, adhesivesAlterations: Measuring tape, chalk, elastic, bias tapeEmergency Kit: Stain removers, lint rollers, steamers, spot-cleaning supplies
Each category gets its own dedicated bag or container. Not a pouch within a bag—a separate, distinct container.
This seems obvious, but most costume designers mix categories. They'll have buttons and thread in the same bag because "they're both small sewing things." But when you need a specific button in 30 seconds, you don't want to sort through thread spools to find it.
I worked with a costume designer named Jennifer who used five separate Film Swag organizer bags—one for each major category. Each bag was labeled. Each bag lived in a specific location in her rolling cart.
"When someone says 'I need a button,' I don't think about where buttons might be," Jennifer told me. "I grab the fasteners bag. That's where buttons live. Always."
Layer 2: Item-Specific Organization
The second layer is about organizing within each category.
Let's use buttons as an example. You might have 200 buttons in your fasteners bag. If they're all loose in one pouch, you'll never find the specific button you need.
The best system I've seen organizes buttons by:
Type: Flat buttons, shank buttons, decorative buttons, functional buttonsSize: Small (under 1/2"), medium (1/2" to 1"), large (over 1")Color family: Neutrals, darks, brights, metallicsMaterial: Plastic, metal, wood, fabric-covered
Within your fasteners bag, you have smaller pouches for each subcategory. Each pouch is labeled. Each button type has a permanent home.
When you need a 3/4" black shank button, you go to: Fasteners bag → Shank buttons pouch → Medium size section → Dark colors.
You can find it in under 10 seconds because the system is logical and consistent.
The same principle applies to every category:
Thread: Organized by color family, then by shadeSafety pins: Organized by size (small, medium, large, extra-large)Needles: Organized by type (hand-sewing, machine, specialty)
Layer 3: Visual Identification
The third layer is about making your system work even when you're stressed, tired, or working in poor lighting.
This is where most costume designers fail. They build a logical system but don't make it visually obvious.
The best visual identification systems use:
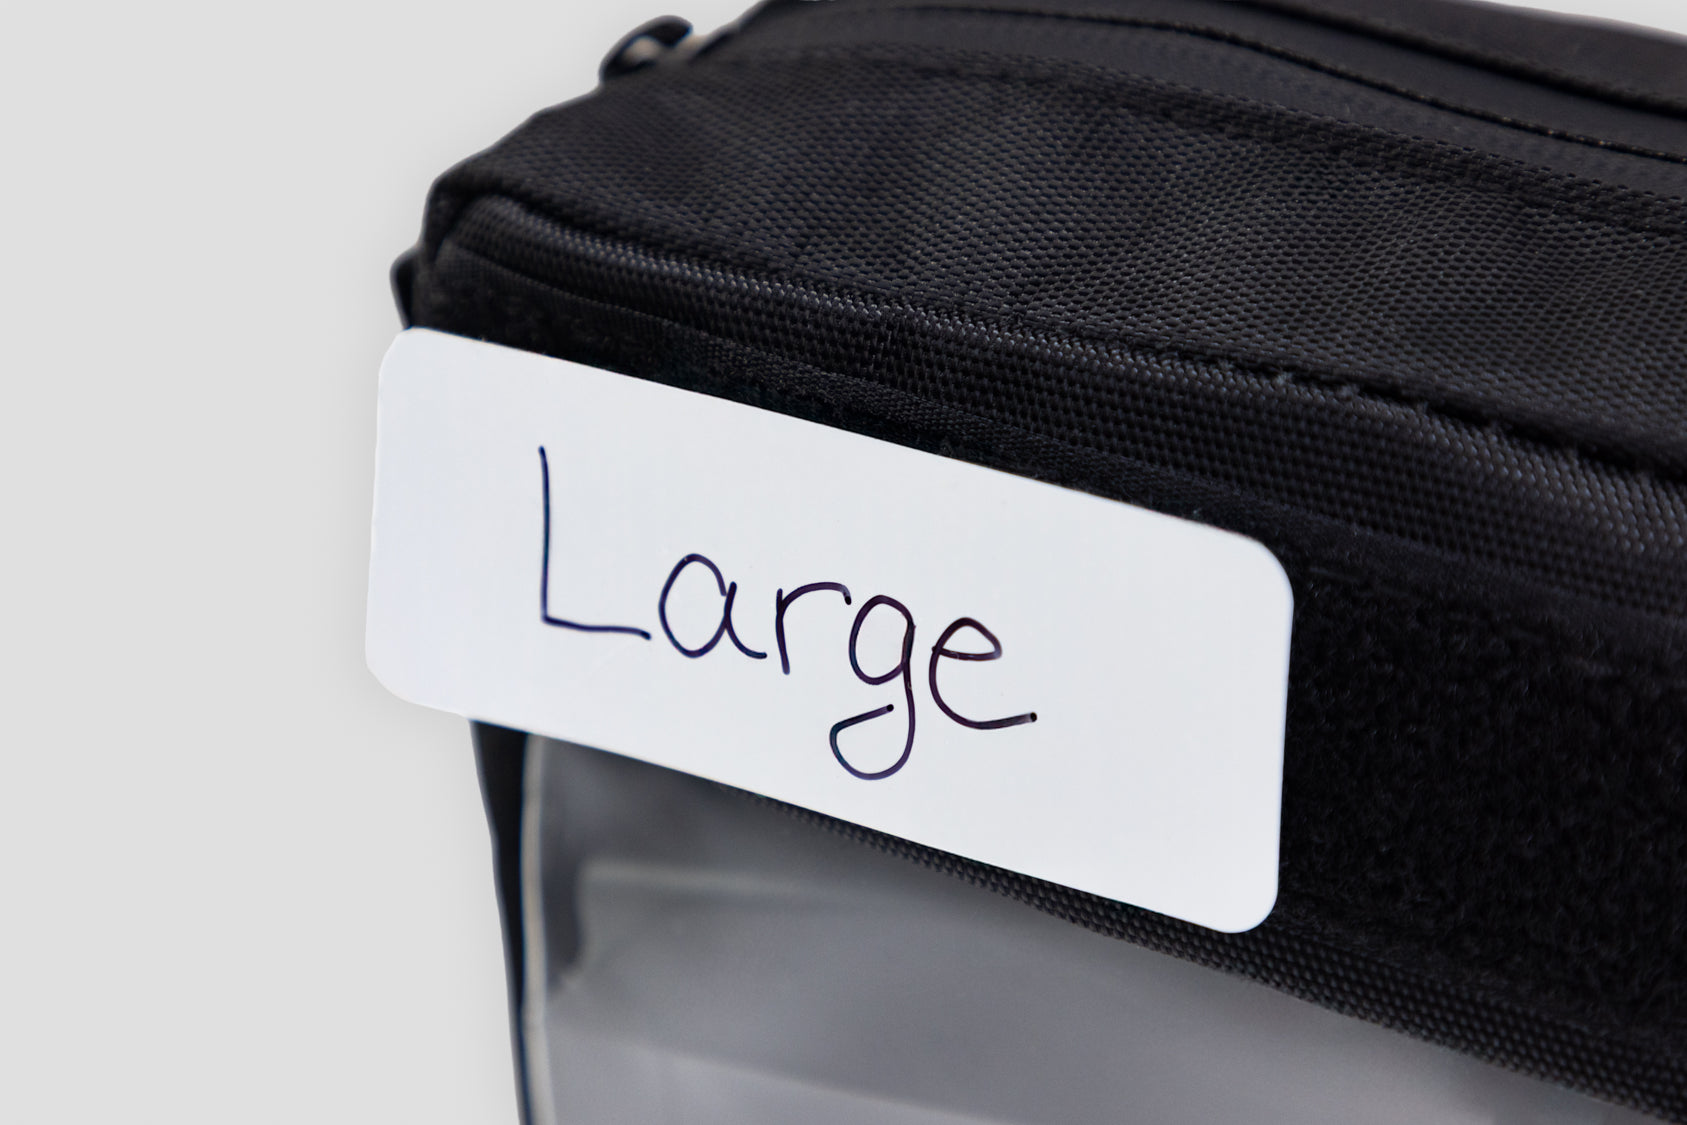
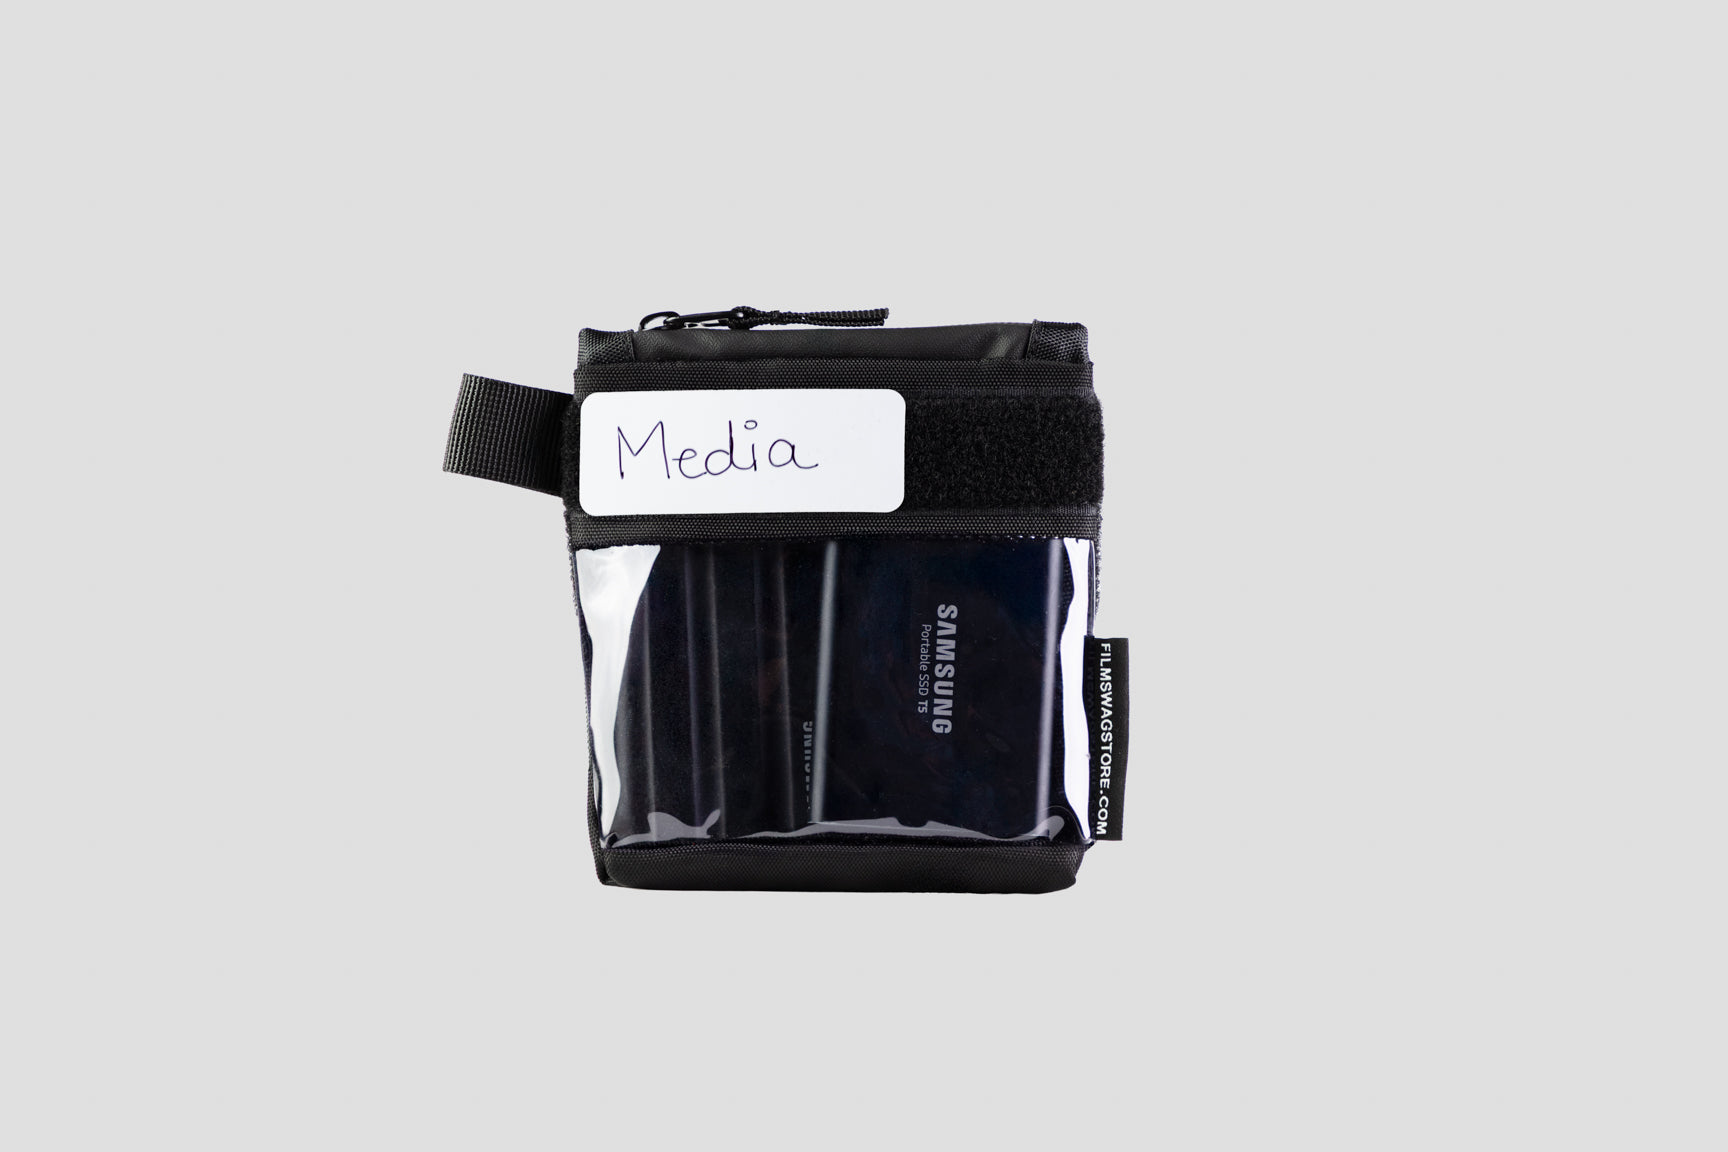
High-Contrast Labels: White labels on black bags. Large, clear text. Readable from three feet away.
Color Coding: Different colored bags or labels for different categories (though this only works if you're consistent).
Tactile Differentiation: Different bag sizes or textures for different categories, so you can identify them by touch.
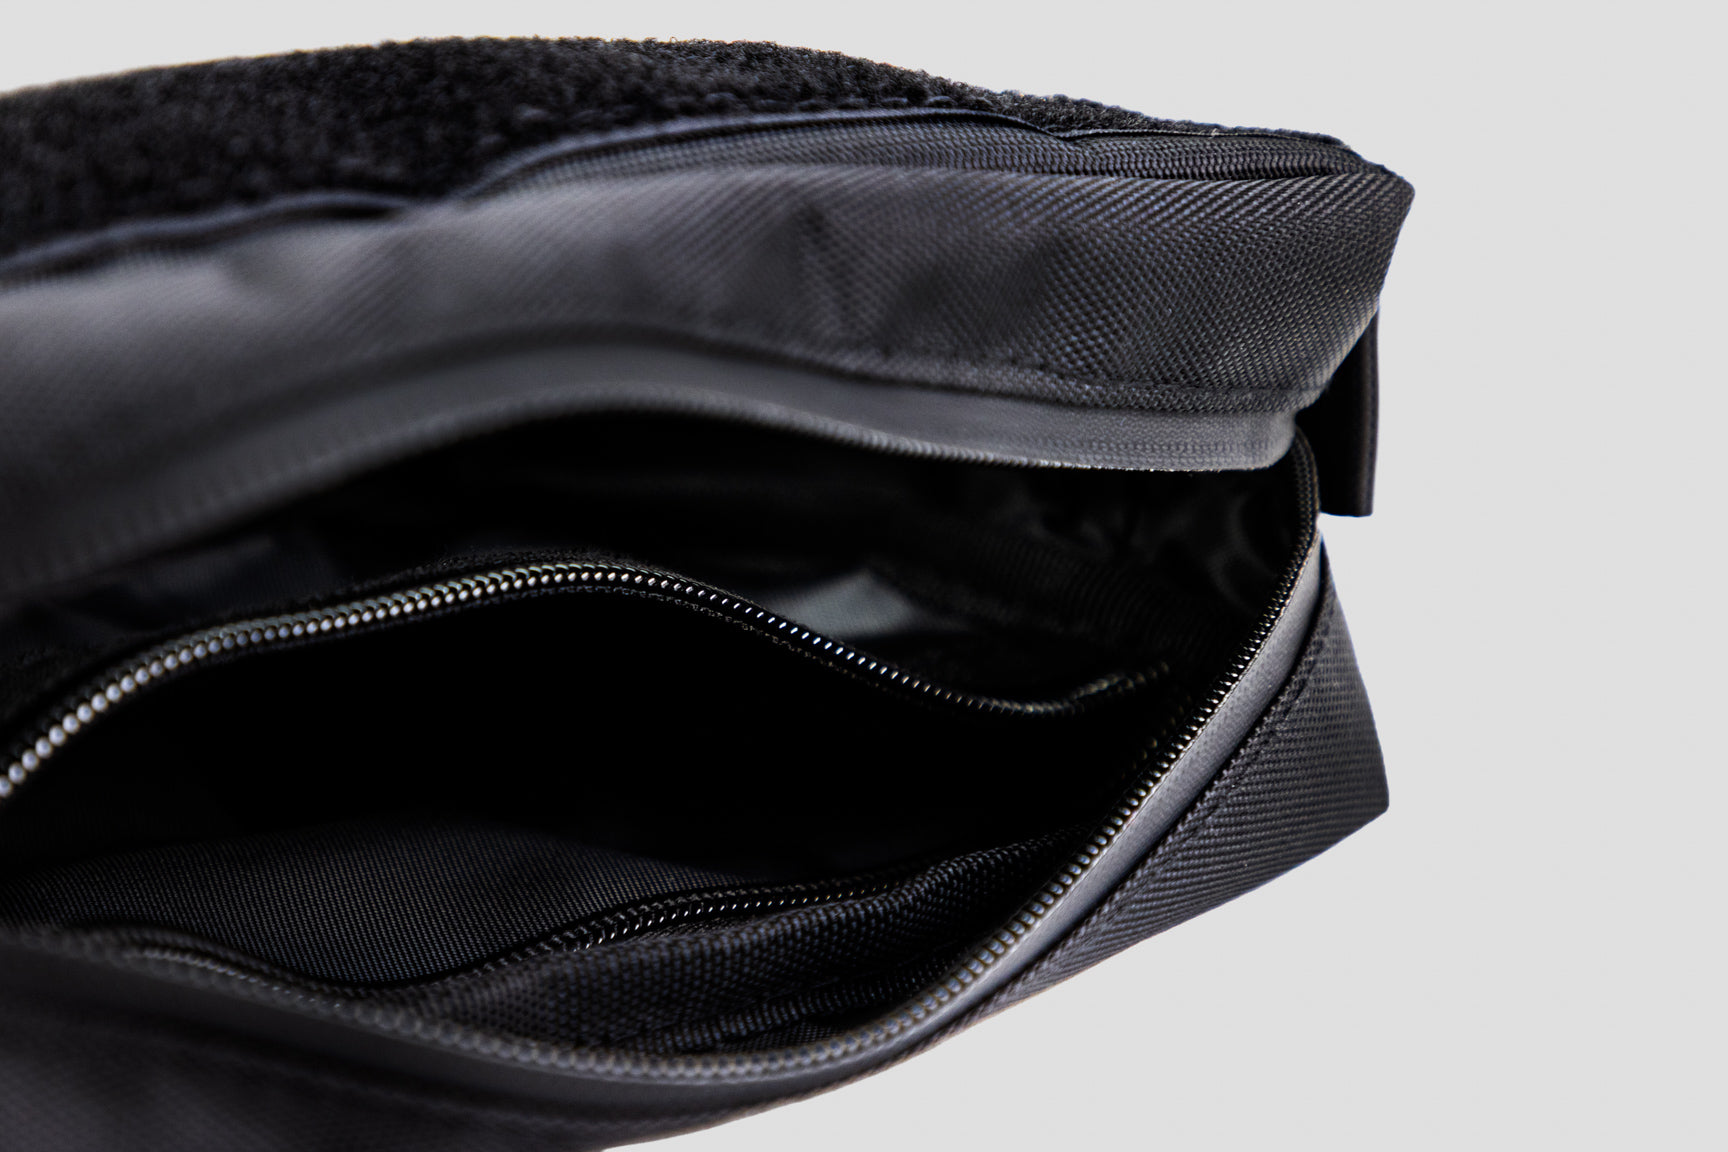
Transparent Windows: Small clear windows on pouches so you can see contents without opening them.
I watched a costume designer named Sarah work through a quick-change sequence in near-total darkness. Backstage during a live theater production. No work lights. Just ambient glow from the stage.
She executed three costume repairs in under two minutes without missing a beat. Her system was designed to work by feel and memory. Different sized pouches for different items. Labels she could read by touch. A consistent layout she'd practiced hundreds of times.
"I test my system in the dark," Sarah told me. "If I can find what I need without seeing it, I can find it anywhere."
The Real Cost of Wardrobe Disorganization
Let's talk about what disorganization actually costs you.
Time Costs: If you spend 10 minutes per day searching for items, that's 50 minutes per week, 200 minutes per month, 40 hours per year. That's a full work week spent searching for things you already own.
Replacement Costs: How many times have you bought a replacement item because you couldn't find the one you already had? Buttons, thread, scissors, measuring tapes—small purchases that add up. Most costume designers I know spend $500-1,000 per year replacing items they already own but can't locate.
Production Costs: Every minute you spend searching is a minute that production is waiting. On a union shoot with a crew of 50, every minute of delay costs $200-400 in crew wages. A 10-minute search costs production $2,000-4,000.
Reputation Costs: This is the big one. Costume designers get hired based on reputation. You're known as either "fast and reliable" or "slow and disorganized." One label builds your career. The other limits it.
I've seen talented costume designers get stuck at a certain level because they couldn't get their organization together. They had great design skills and excellent taste, but they were too slow on set. They couldn't handle the pace of bigger productions.
The costume designers who build great careers? They treat organization as a core professional skill, not an afterthought.
How to Build Your Wardrobe Organization System
If you're ready to build a professional organization system, here's the step-by-step process:
Step 1: Complete Inventory
Pull out everything. Every button, every thread spool, every safety pin, every tool. Lay it all out on a table.
This is painful. You'll discover you have seven measuring tapes, 40 safety pins in random sizes, and 15 spools of black thread in slightly different shades.
But you need to see the full scope of what you're organizing.
Step 2: Purge and Consolidate
Get rid of duplicates. Throw away broken items. Consolidate partial spools of identical thread.
Most costume designers discover they can eliminate 30-40% of what they're carrying. You don't need seven measuring tapes. You need two (one primary, one backup).
Step 3: Define Your Categories
Based on your inventory, define your major categories. For most costume designers, these are:
-
Fasteners (buttons, snaps, hooks, zippers)
-
Sewing supplies (thread, needles, scissors)
-
Quick fixes (safety pins, tape, adhesives)
-
Alterations (measuring tools, chalk, elastic)
-
Emergency kit (stain removers, lint rollers)
You might have additional categories based on your specific needs (wig supplies, makeup touch-up, jewelry repair, etc.).
Step 4: Assign Permanent Homes
Each category gets a dedicated bag. Each subcategory gets a pouch within that bag.
Use bags with multiple compartments so you can physically separate subcategories. Label everything with high-contrast labels.
Step 5: Build Muscle Memory
This is the step most people skip, and it's why their systems fail.
Practice using your system. Set a timer and practice finding specific items. Can you find a 3/4" black button in under 10 seconds? Can you find a size 3 needle? Can you find fabric tape?
Practice until your hands know where to go without conscious thought.
Step 6: Maintain Religiously
Your system only works if you follow it 100% of the time.
When you use a button, put the container back in the exact same spot. When you're done with thread, return it to its home immediately. Never put something in a temporary spot "just for now."
The moment you break your own rules, your system starts to degrade.
Why Film Swag Bags Work for Wardrobe
I designed these bags after watching costume designers struggle with organization systems that weren't built for the realities of set life.
Here's what makes them work for wardrobe:
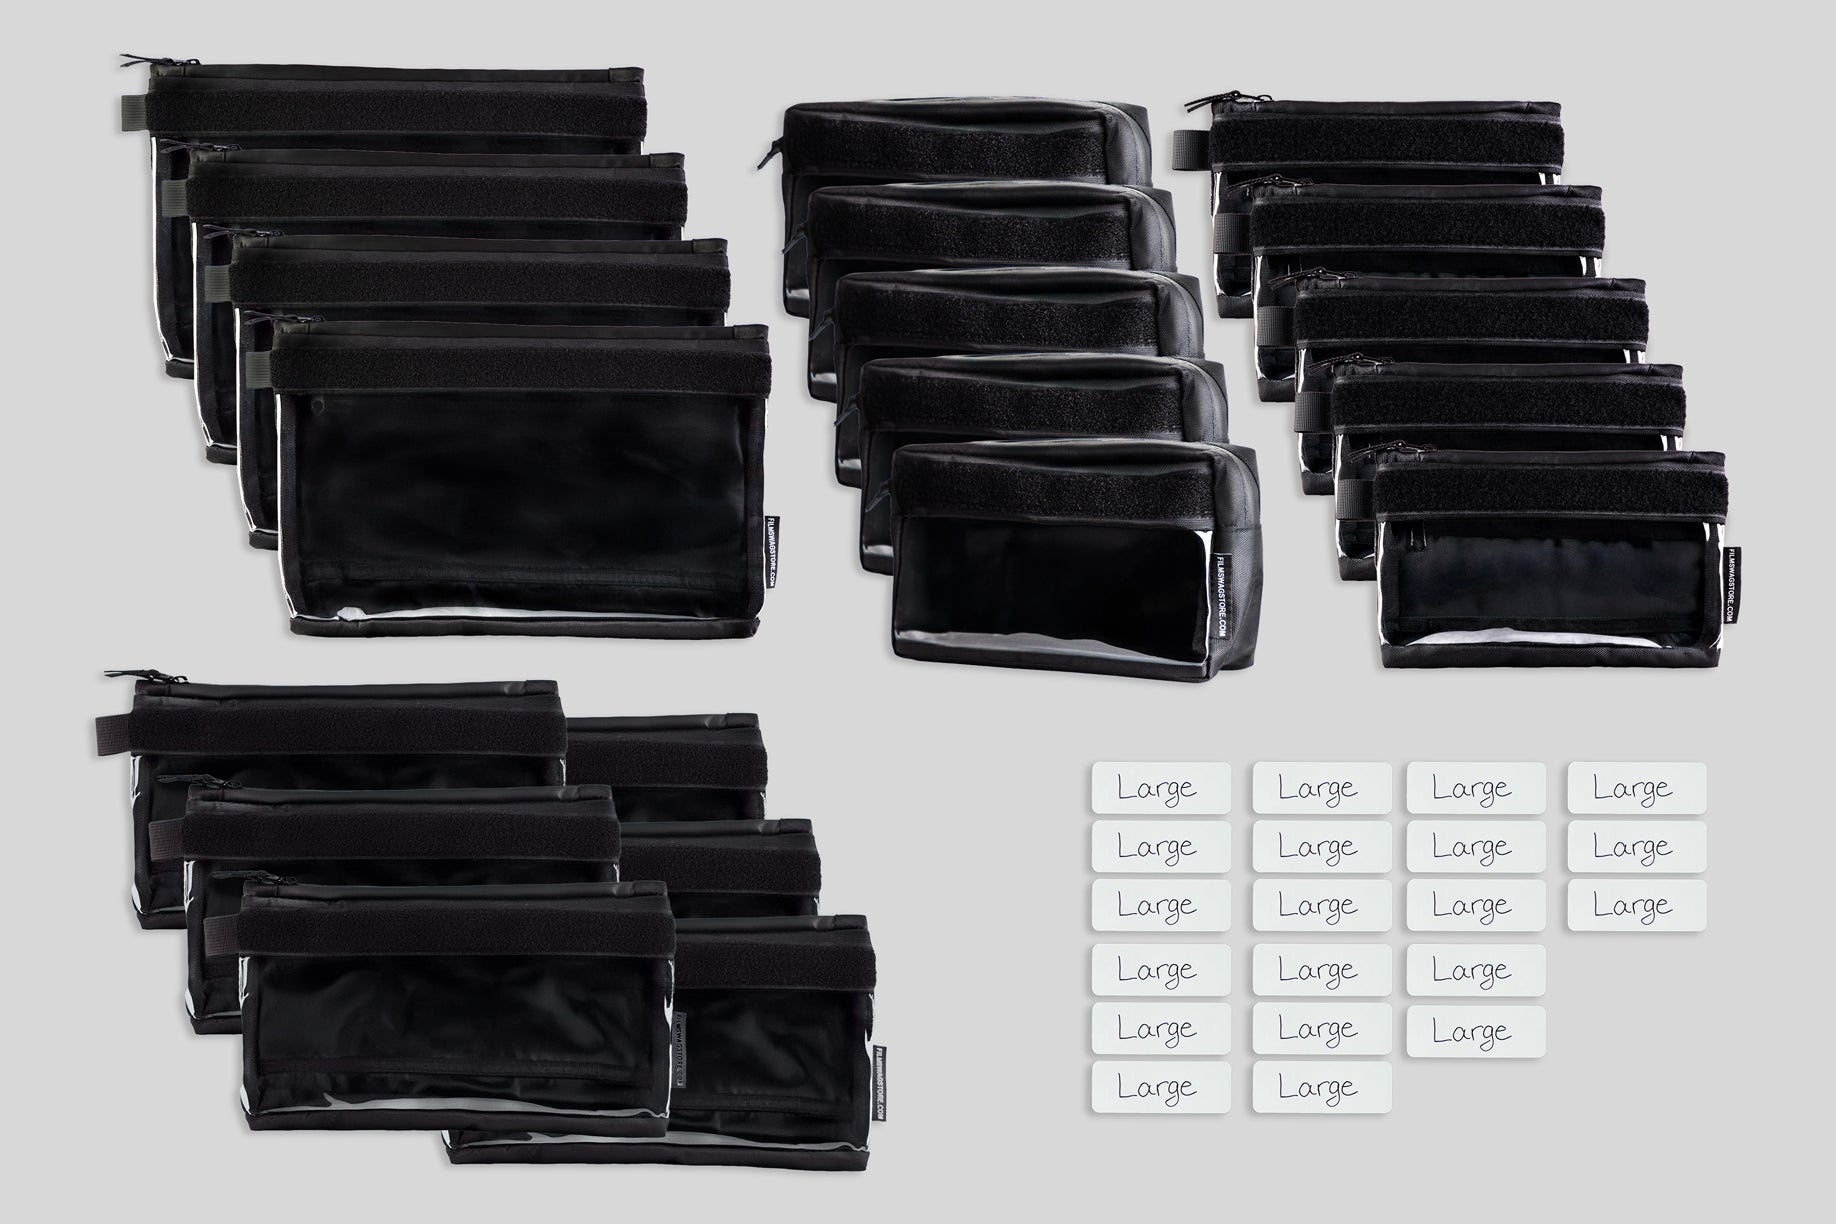
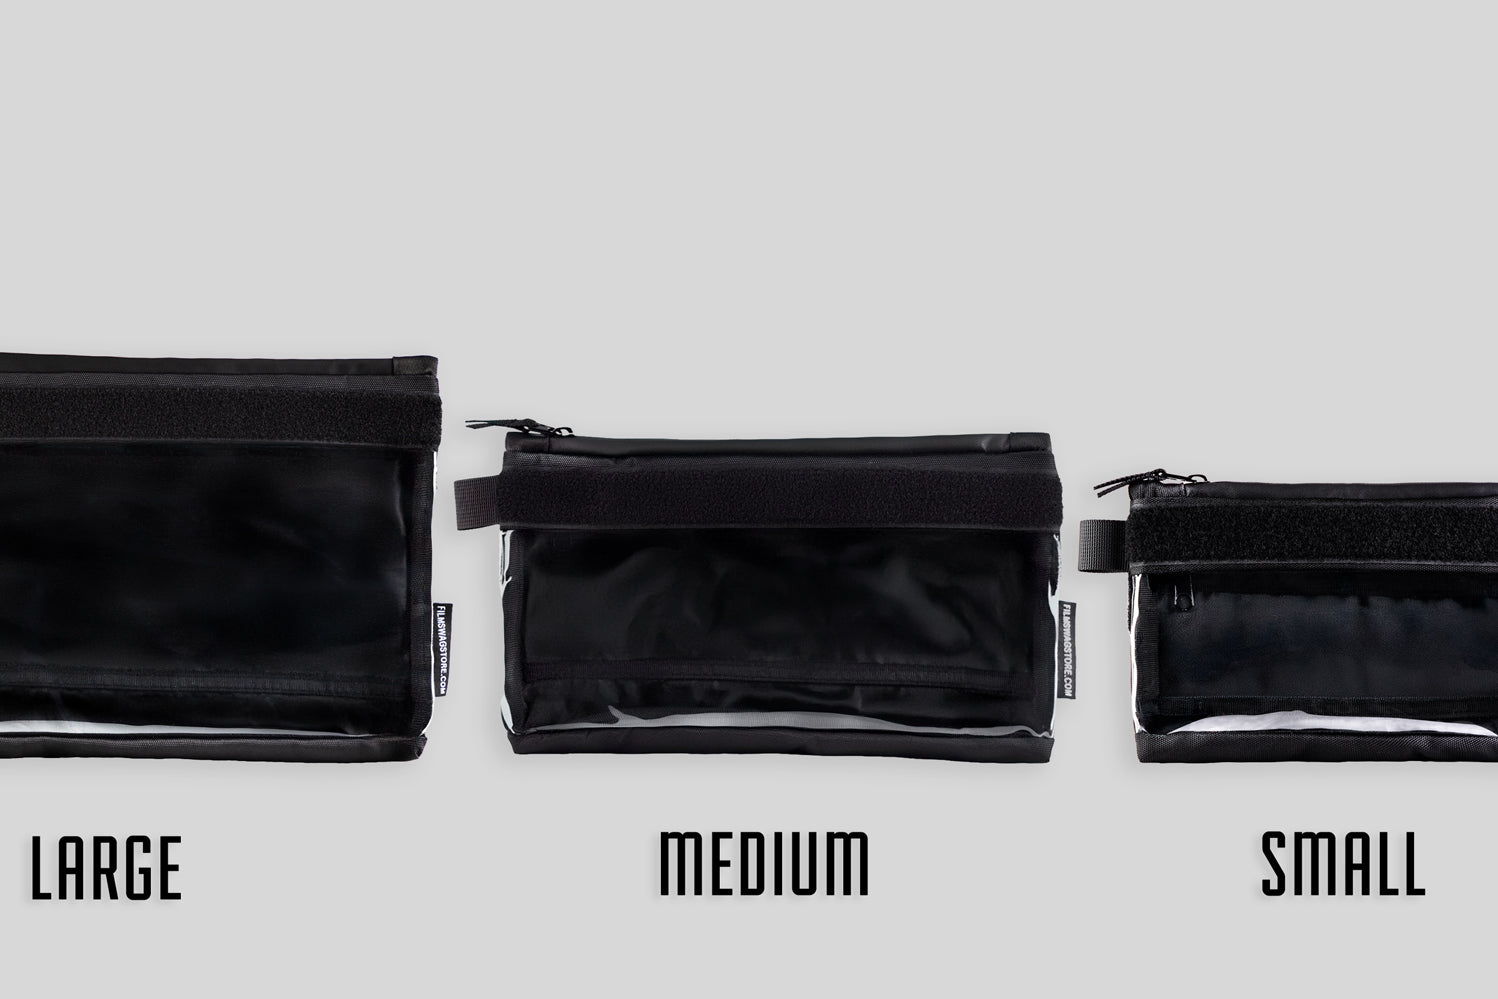
Multiple Compartment Sizes: Different sized pouches for different types of items. Small pouches for buttons and needles. Larger pouches for thread and tools.
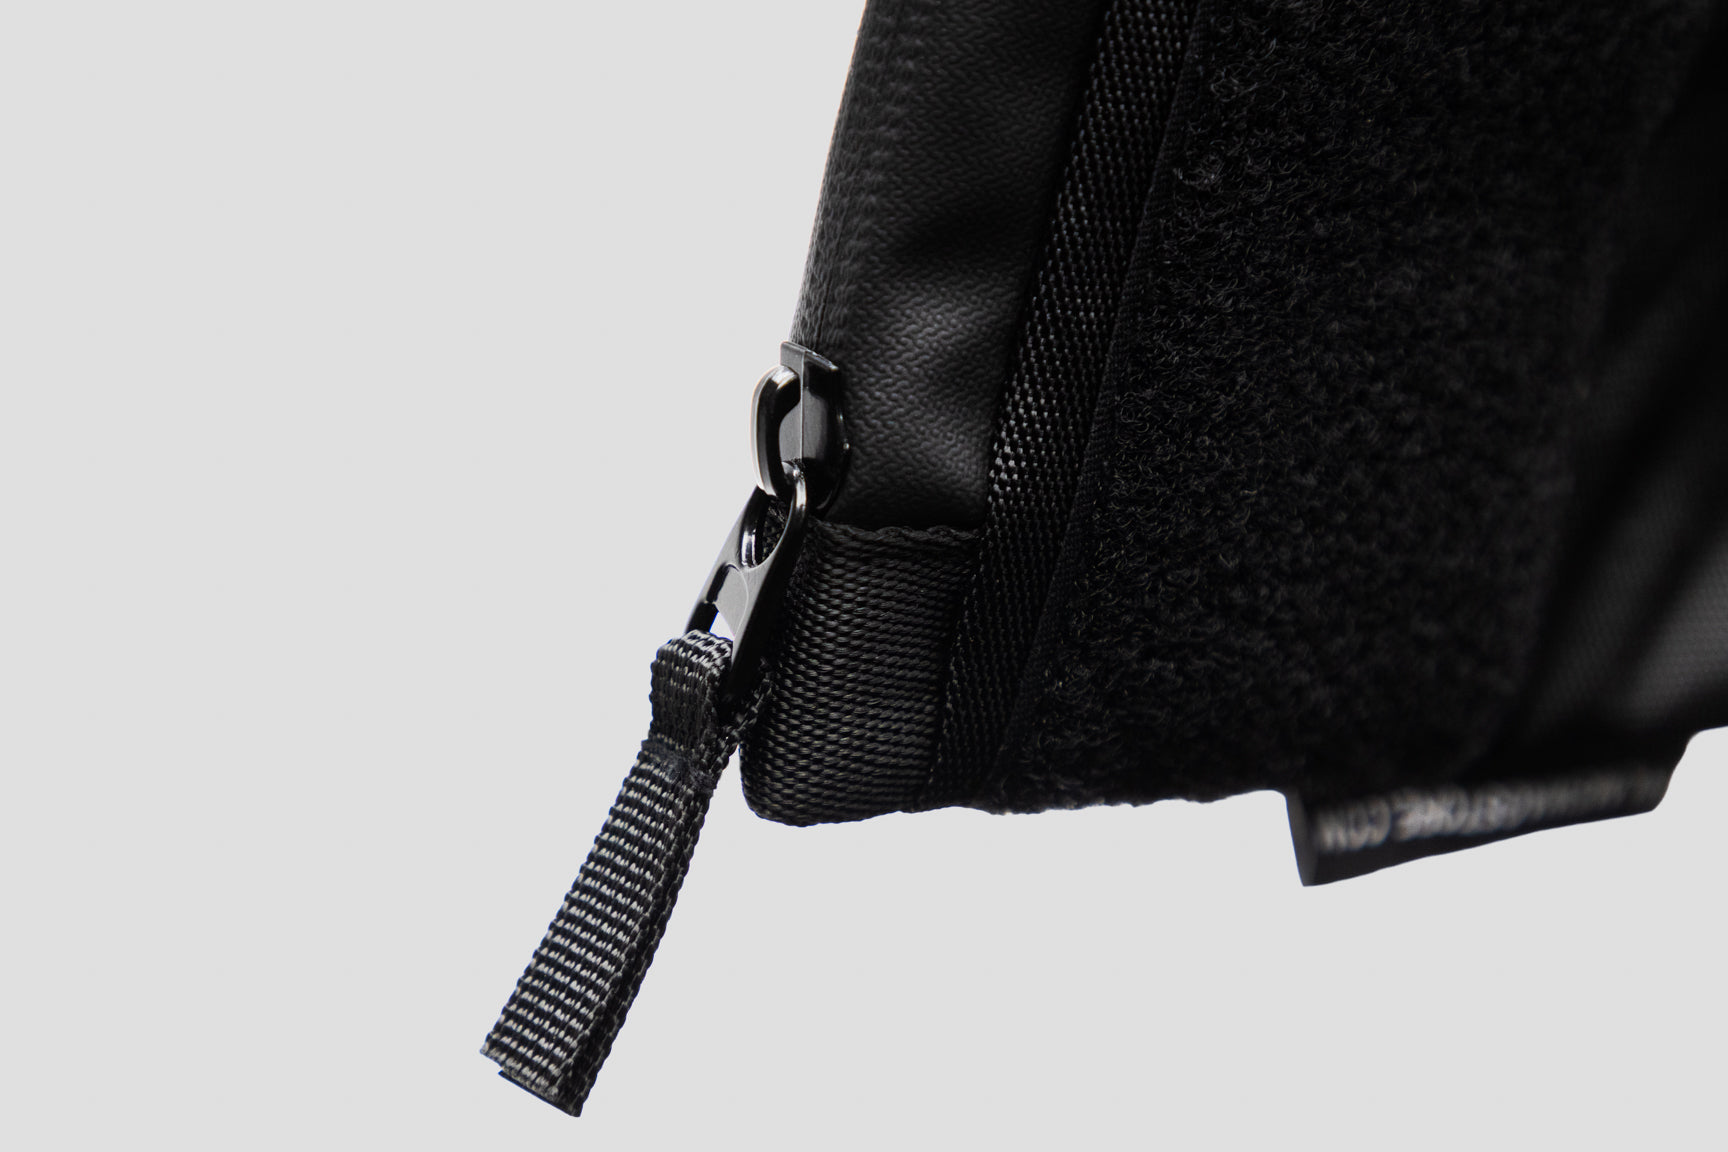
Customizable Velcro Labels: Mark exactly what lives where. White board tags let you reorganize as your needs change. No more faded handwritten labels.
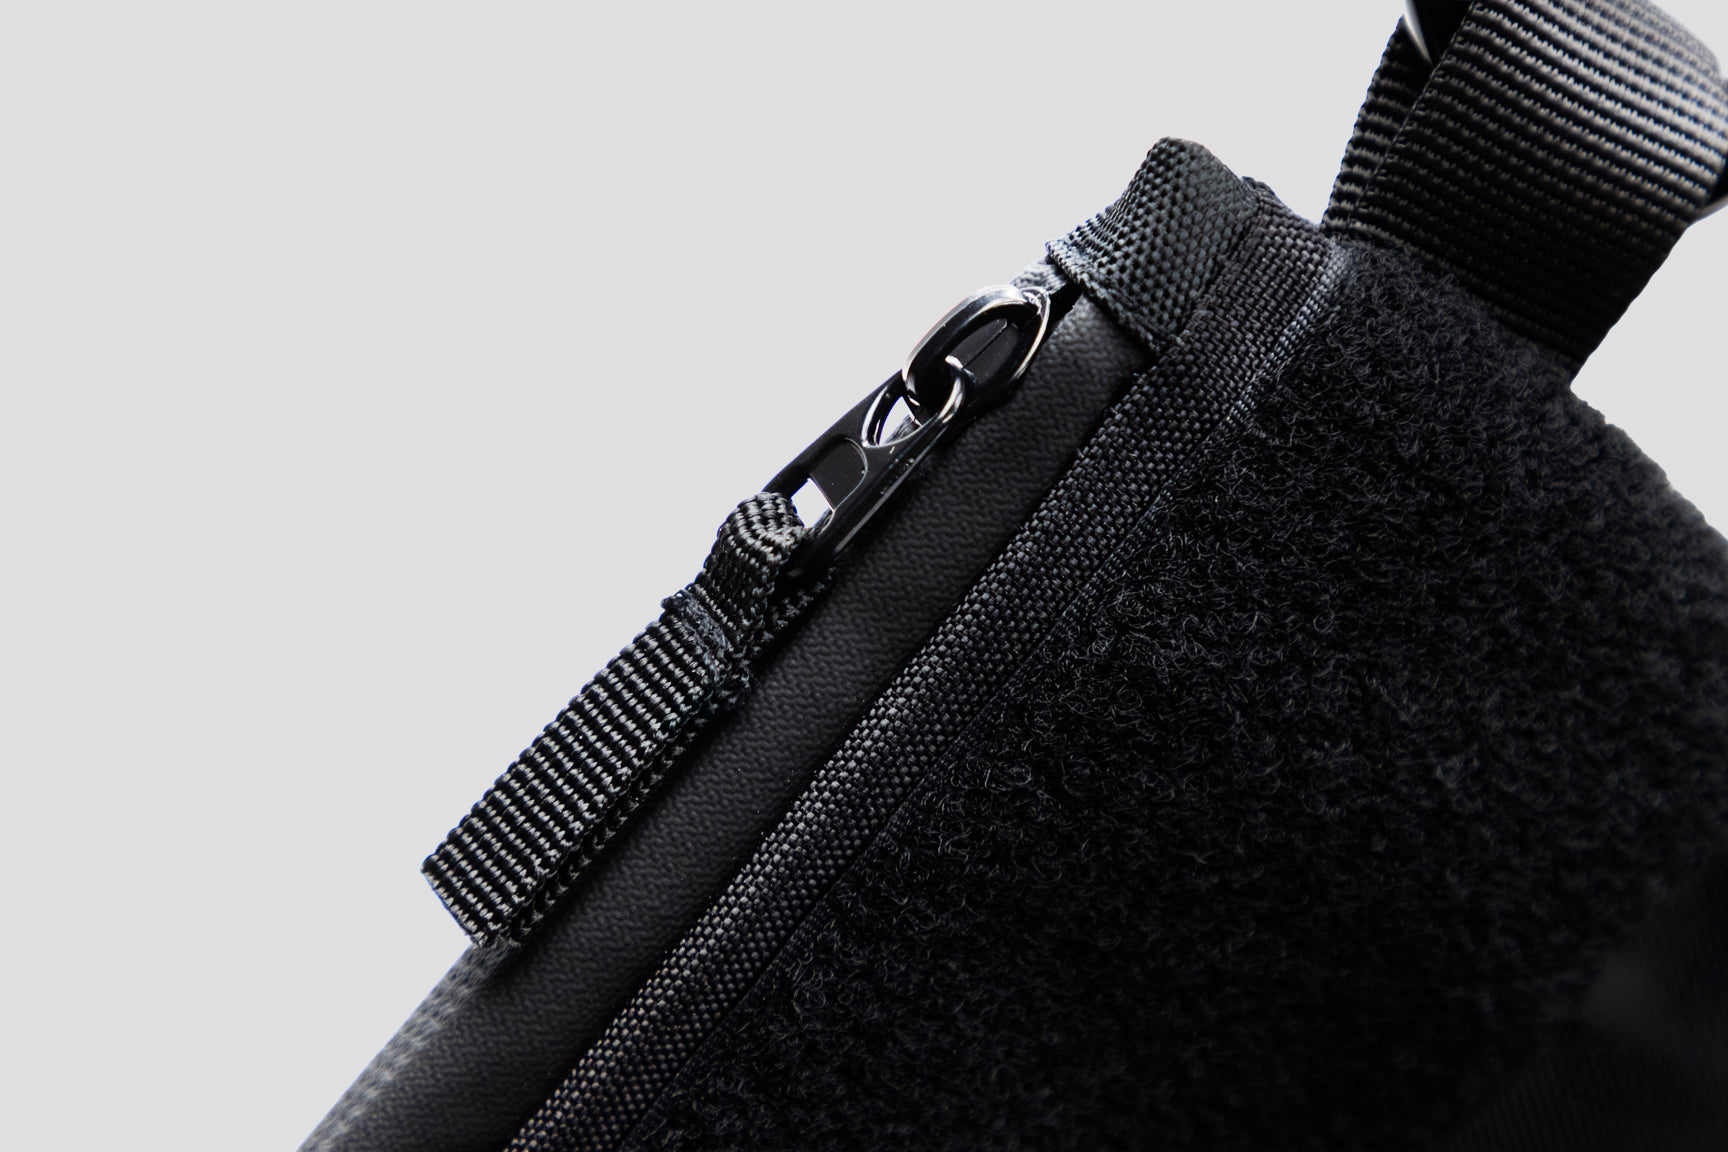
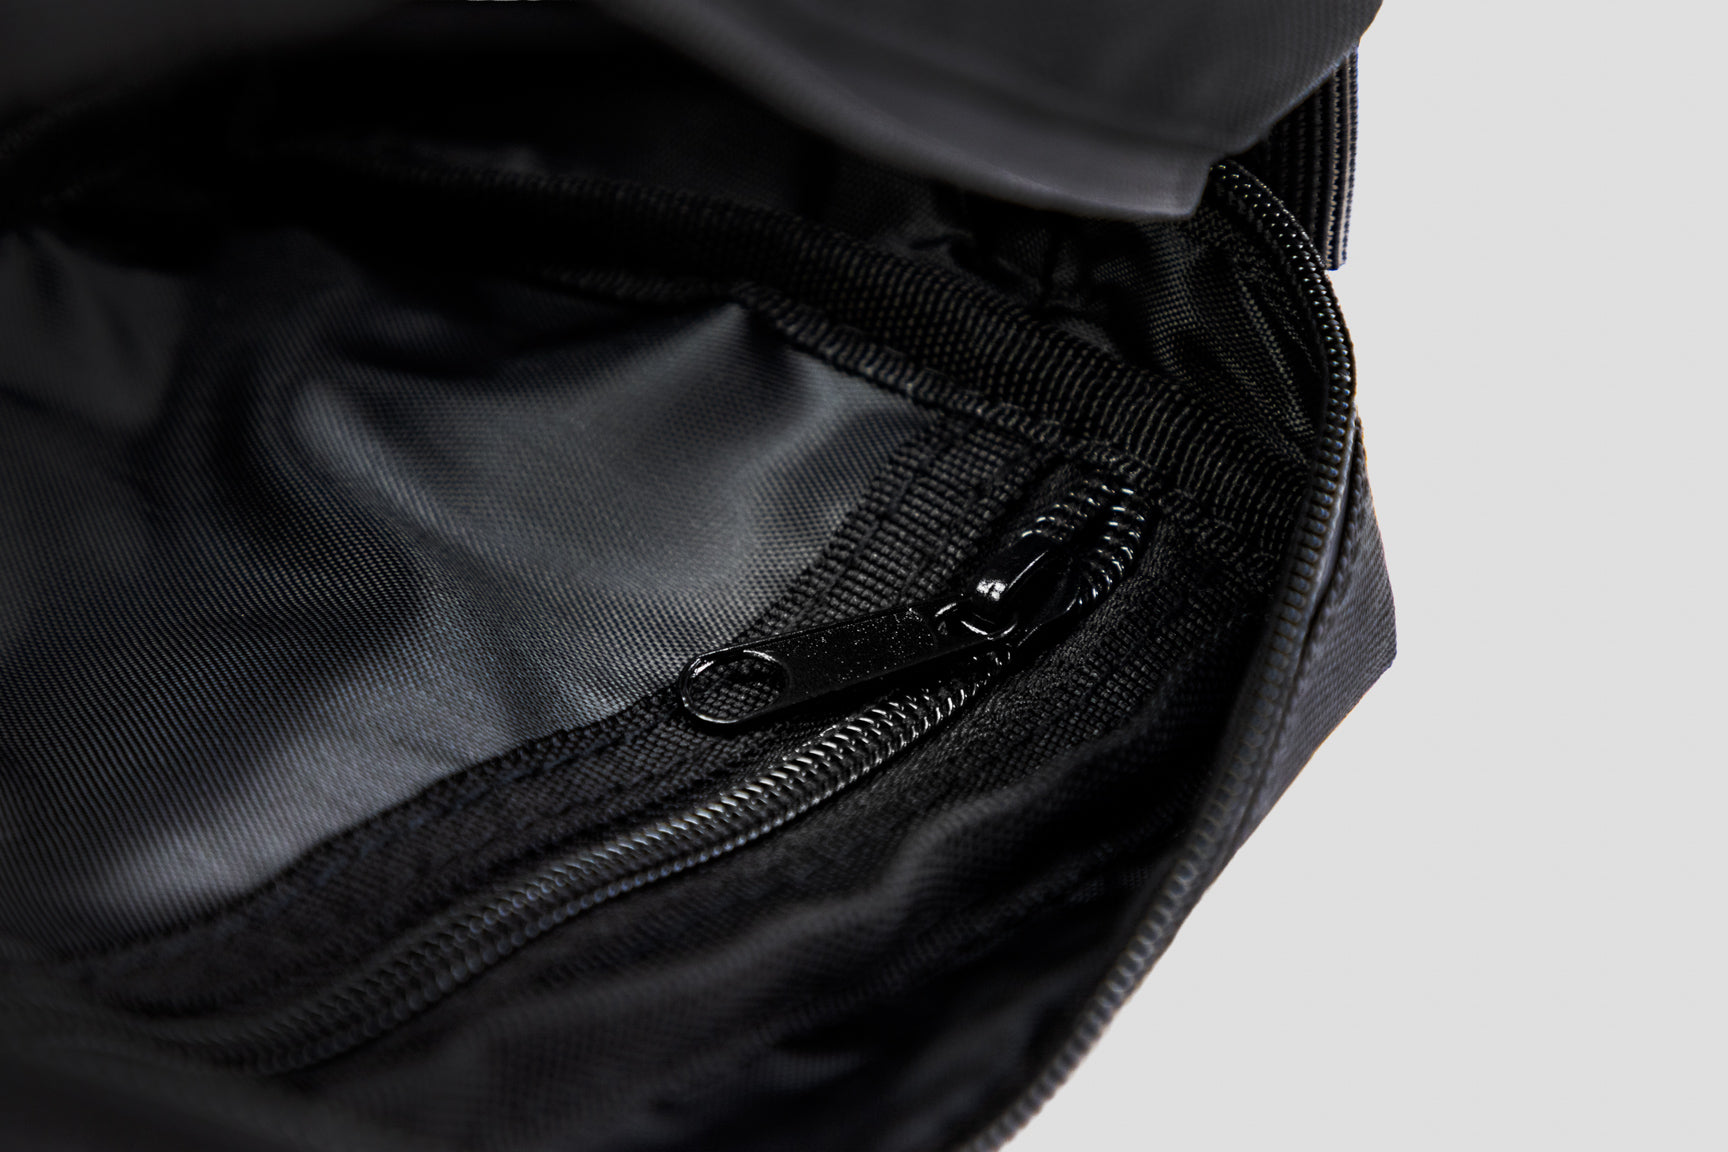
Durable Construction: Premium materials and ultra-high quality zippers that don't fail when they get dirty or used constantly. These bags survive the chaos of set life.
Modular System: Start with one bag for your most-used items. Add more bags as your kit grows. Each bag integrates with the others.
Professional Appearance: Clean, organized, professional-looking bags that reflect well on you and your department.
Real-World Wardrobe Systems
Let me show you how working costume designers actually use these bags:
Sarah (Theater Costumer): Uses three 8x8" bags. One for fasteners, one for sewing supplies, one for quick fixes. Each bag lives in a specific location in her backstage kit. She can execute costume repairs in complete darkness because her system is so consistent.
Jennifer (Film & TV Costumer): Uses five bags ranging from 8x8" to 12x12". Fasteners, sewing supplies, alterations, emergency kit, and specialty items (wig supplies, jewelry repair). Each bag is labeled and lives in her rolling cart in a specific position.
Maria (Period Drama Specialist): Uses a modular system with seven bags. She organizes by production era—one bag for modern fasteners, one for period-appropriate fasteners, etc. When she's working on a specific production, she only brings the relevant bags.
Each of these designers built a system that works for their specific needs. But they all follow the same principles: category separation, item-specific organization, visual identification, and religious maintenance.
Your Next Step
If you're ready to build a professional wardrobe organization system, here's what I recommend:
For beginners and assistants: Start with two 8x8" bags. Use one for fasteners, one for sewing supplies. Build the habit of "one home for everything." As your kit grows, add more bags.
For experienced costume designers: Build a complete system with 4-5 bags covering all major categories. Label everything. Practice finding items quickly. Test your system in poor lighting conditions.
For department heads managing large productions: Create a comprehensive system with bags for every category and subcategory. Consider having duplicate systems (one for your main kit, one for your on-set emergency kit).
The investment in proper organization isn't an expense—it's career insurance. The costume designers who build great systems are the ones who get hired for bigger shows, who get recommended by producers, who build 30-year careers.
Maria—the costume designer who lost those buttons—completely rebuilt her organization system after that $18,000 incident. She invested in a complete set of Film Swag bags, spent a weekend organizing every item in her kit, and committed to maintaining her system religiously.
Two years later, she's now the costume designer on a major streaming series. Her organization system is so solid that she's become known for being the fastest, most reliable costumer in her market.
"That missing button changed my career," she told me. "Not because I almost got fired. Because I finally understood that organization isn't optional. It's what separates professionals from amateurs."
Ready to build your system?
Visit FilmSwagStore.com and check out our wardrobe-specific organizer solutions. Every bag comes with our 30-day return policy and free shipping on orders over $150.
Your future self—and your production team—will thank you.